Friday, May 30, 2014

WInged Purple

Hello Starshines!
Something not really surprising today: I played with my purples. I'm soooo fond of this color it seems I can't get enough of it! So today I used mainly MAC cosmetics eyeshadows in purple to create this look. I really like how it came out and purples are so easy to wear! I know it's a bright color but it literally compliments every eye color and skin tone!


Product used:
Makeup Geek Eyeshadows in: Beaches and Cream, Unexpected, Vanilla Bean and Drama Queen.
MAC cosmetics Eyshadow in: Vibrant Grape and Fig.1
Maybelline Eyestudio Gel Liner
Cover Girl Lashblast Volume Mascara
Sigma Brushes 

Tutorial
1. Blend Beaches and Cream with an E40 al over the eyelid taking the color to the brow bone.
2. Place Vibrant Grape with an E55 on the center of the lid, you don't have to be really precise as we are going to apply more eyeshadows next.
3. With the same E55, place some Fig. 1 on the outter part of the lid and extent it slightly on the crease. This step will define the eye more and had some depth to the look. 
4. With an E25 and Unexpected, blend the edges well.
5. Dab some Vanilla Bean on the inner corner to highlight this area.
6. Then draw a pretty thick and dramatic wing with an eyeliner, the look on the lid is pretty simple to allow this show off of dark eyeliner!
7. With an E45 dab some Drama Queen just upon the wing of the black line and blend it smoothly onto the crease, you can take back the E25 and some Unexpected to help blending and smoothing the harsh lines.
7. With an E20 place Vibrant Grape under the lower lashline and blend it with an E30 and Unexpected.
8. With an E15, trace a thin line with Drama Queen on the outter part of the lower lash line. Highlight your inner tear duct and brow bone and you're done!!

I hope you enjoyed this look, if you did please let me know in the comments ;) And please follow me on Instagram, Twitter and Facebook!!!!

I wish you all an amazing Friday and a great week-end

<3<3
Maylee

Wednesday, May 28, 2014

Blitz

Hello Starshines!
When I first looked at Makeup Geek pigments, I was immediatly drawn to Blitz, this is sooo my favorite shade, warm and bronze and shimmery. So to try out the Makeup Geek Pigments, it was naturally that I chosed this one. This look is pretty simple because I really wanted to focus on the pigment itself and sadly the pictures don't do it any justice... But here it is anyway!


Products used
Makeup Geek Eyeshadows in: Crème Brulee, Chickadee, Brown Sugar and Glamorous.
Makeup Geek Pigments in: Blitz <3
MAC cosmetics Eyshadow in: Red Brick
Maybelline Eyestudio Gel Liner
Cover Girl Lashblast Volume Mascara
Sigma Brushes

Tutorial:
1. Put Crème Brulee all over the eyelid with and E40.
2. Take an E35 and dust some Red Brick just above the crease
3. With an E30 put some Chickadee on the inner tear duct and stretch it up toward the crease.
4. Then, with an E55 place Blitz all over the mobile lid. You can spray some Fix+ or water on your brush to make the pigment even more shimmery!
5. Trace a line with some eyeliner
6. Taking an E20 place Glamorous under the lower lashline and smudge it out well.
7. With an E15 draw a thin line with Brown Script on the outter corner and go back with the E20 to blend it lightly.
8. Put mascara and you're all done!

I hope you enjoyed this look and if you did please let me know in the comments! Don't forget to follow me on Instagram, Twitter and Facebook!

I love you all and I wish you a wonderful day!
<3<3
Maylee

Monday, May 26, 2014

Soft and Simple

Hello Starshines!
I hope your week-end was great and sunny! So to begin this new week, I wanted soft and luminous and I came with this look! It will suit any eye color or skin type and is really simple to do! I just loooove Homecoming! It's a perfect shade, not too silvery, not too golden and not too pink, perfect for anyone and so unique!

Product used:
Makeup Geek Eyeshadows in: Peach Smoothie, Homecoming, Burlesque, Bitten and Cinderella
NYX Mascara le Frou Frou
Sigma brushes


Tutorial
1. Blend Peach Smoothie all over the lid with a Sigma E40
2. With an E55 apply Homecoming on the mobile lid, bring it a little into the crease and the outter V and blend the edges well with the same brush without any additional product. You can go back with the E40 to make sure there is no harsh line
3. With an E35 gently dab Bitten on the outter V before stretching it into the crease. I like this shade because it is matte and I prefer matte shades in the crease.
4. To define more the look take an E45 and apply a touch of Burlesque on the very outter V making sure it doesn't totally cover Bitten.
5. With an E37 put some Cinderella on the inner tear duct and under your brow bone to highlight those areas.
6. Take an E15 and line your lower lash line with Bitten.
7. Blend it with an E20 and Homecoming. To add more depth you can take the E15 and add a  thin line of Burlesque on the very outter part of the lashline.
8. Put mascara and you're all done!

I hope you enjoyed this look, let me know in the comments if you did! And don't forget to follow me on twitter, facebook and instagram that would mean a lot to me!

Have an amazing week and I talk to you soon!
<3<3
Maylee

Saturday, May 24, 2014

Blazing Mermaid

Hello Starshines!
I hope your week-end is great so far ;) Today I come with a warm-cool makeup. I looove to play with warm and cool tones and see how the colors enhance each other. It's also a great way to combine colors to match any eye color and skin tone! So here's my look, with Makeup Geek eyeshadows, of course!

Products used
Makeup Geek Eyeshadows: Mermaid, Burlesque, Cocoa Bear, Shimma Shimma and Peach Smoothie
Sigma Brushes and Makeup Geek Pencil Brush
Maybelline Gel Liner
Cover Girl Lashblast Volume Mascara


Yes this is me XD, pardon my bad hair!

Tutorial
1. With an E40 blend Peach Smoothie all over the eyelid
2. Take an E35 and place Cocoa Bear above the crease. Work with the brush parallel to the crease then wipe back and forth to blend the color.
3. Place Mermaid on the mobile lid with an E55. Begin with dabbing it then sweep it on the whole lid and blend the edges together with the colors placed underneath. You don't have to be super precise on the outter corner because...
4. Take an E45 and dab Burlesque on the outter V and work it on the crease. This will intensify the look and add some warmth to the cool blue.
5. With an E15 draw a thin line of eyeliner.
6. Take a khol pencil (I used a Bourjois one -a french brand I'm not sure you can find in America) and place it on the outter part of your waterline. Don't take too far inward because you're gonna place another khol pencil in a vibrant blue shade (again it's a Bourjois one I used but any neon-like pencil will work! MAC Mountain Air Pro Longwear Eyeliner or NYX Slide On Pencil in Azure could make even if I don't own them)and place it on the inner part of your waterline. I also lined my upper waterline with a black khol but you can skip this. The azure pencil on the waterline will give an extra pop to the look and make the eye shines!
7. For the lower lash line, take an E15 and place Cocoa Bear on the outter part then blend it with an E30 and some Peach Smoothie. Take the same E15 and place a thin line of Burlesque on the very outter corner.
8. Take a Makeup Geek Pencil Brush to place Mermaid on the inner part of the lash line.
9. Highlight the inner tear duct with Shimma Shimma and you're all done!

I hope you enjoyed this look, tell me if you did or have any other requests/suggestions and stay tuned for the next look!

<3<3
Maylee

Friday, May 23, 2014

Midnight Peacock

Hello lovelies,
Today I felt kind of dark and I also wanted to play with my Makeup Geek Peacock eyeshadow. So it may be a little heavy and dramatic for an everyday summer look but I really wanted to do something dark and intense!

Products used:
Makeup Geek Eyeshadows in: Peacock, Mermaid, Shimma Shimma and Peach Smoothie.
MAC cosmetics Eyeshadows in: Carbon
Maybelline Eyestudio Gel Liner
NYX Le Frou Frou Mascara
Sigma brushes: E15, E20, E25, E40, E55 and E39

Tutorial
1. Apply MUG Peach Smoothie with and E40 all over the lid.
2. Place Peacock on the mobile lid with an E55, work the color in the crease but don't go too far following the shape of your eyeball.
3. Blend it well with an E39 or the previous E40.
4. With an E25 apply Mermaid on the upper crease. Here again you can take back the E40 or the E39 to blend any harsh line.
5. With an E20 smudge some Carbon near your lashline to create this dark smokey effect.
6. Line your eyes and apply khol to define and darken the look even more
7. Apply Peacock along your lower lash line with and E15 then blend it with an E20 dipped in Mermaid.
8. Highlight the inner tear duct with Shimma Shimma, put mascara and you're done!

What do you think of this look? Do you like dark smokey look even for Summer?

I also realise I don't speak of I how I do my brows, would you be interested in a tutorial?

I hope you have a great weak and I'll write you soon for another tutorial!

<3<3
Maylee


Thursday, May 22, 2014

Glamorous Circus

Hey there Starshines!
I hope your day is well! So today was a warm day for me and I really wanted to try out something with my new Makeup Geek Eyeshadows!

Products used:
Primer - MAC Pro Longwear Concealer (NW20)
Eyeshadows
Makeup Geek - Peach Smoothie, Mango Tango, Burlesque, Bitten, Glamorous, Drama Queen, Shimma Shimma and Vanilla Bean


Tutorial
1. Blend MUG Peach Smoothie all over the eyelid with an E40.
2. With the same brsuh take MUG Mango Tango and dust it on the upper part of the lid
3. Take MUG Glamorous (gosh this shade is so darn beautiful!) with an E55 and place it on the 3/4 of the inner lid.
4. Then place MUG Burlesque on the 1/4 left and slightly work it into the crease.
5. With an empty brush such as the E37 or the E39, blend the three colors together.
6. Take an E45 and dab some MUG Bitten on the crease taking the color all the way up. You can take the E40 to blend any harsh lines.
7. To add more depth to the look, take MUG Drama Queen on the same E45 and dab it on the very outter V.
8. For the lower lashline use an E15 to place Drama Queen on the outter part, Burlesque on the middle and Glamourous on the inner part then blend them together with and E20 or any soft fluffy brush.
9. Add some liner if you want and mascara and then you're all done!

I paired it with very bold lips using Max Factor Lipstick in shade Aubergine (such a gooorgeous plum shade with some golden shimmers in it)

Wednesday, May 21, 2014

Snap My Green

Hello lovely Starshines!

Some weeks ago I recieved the 
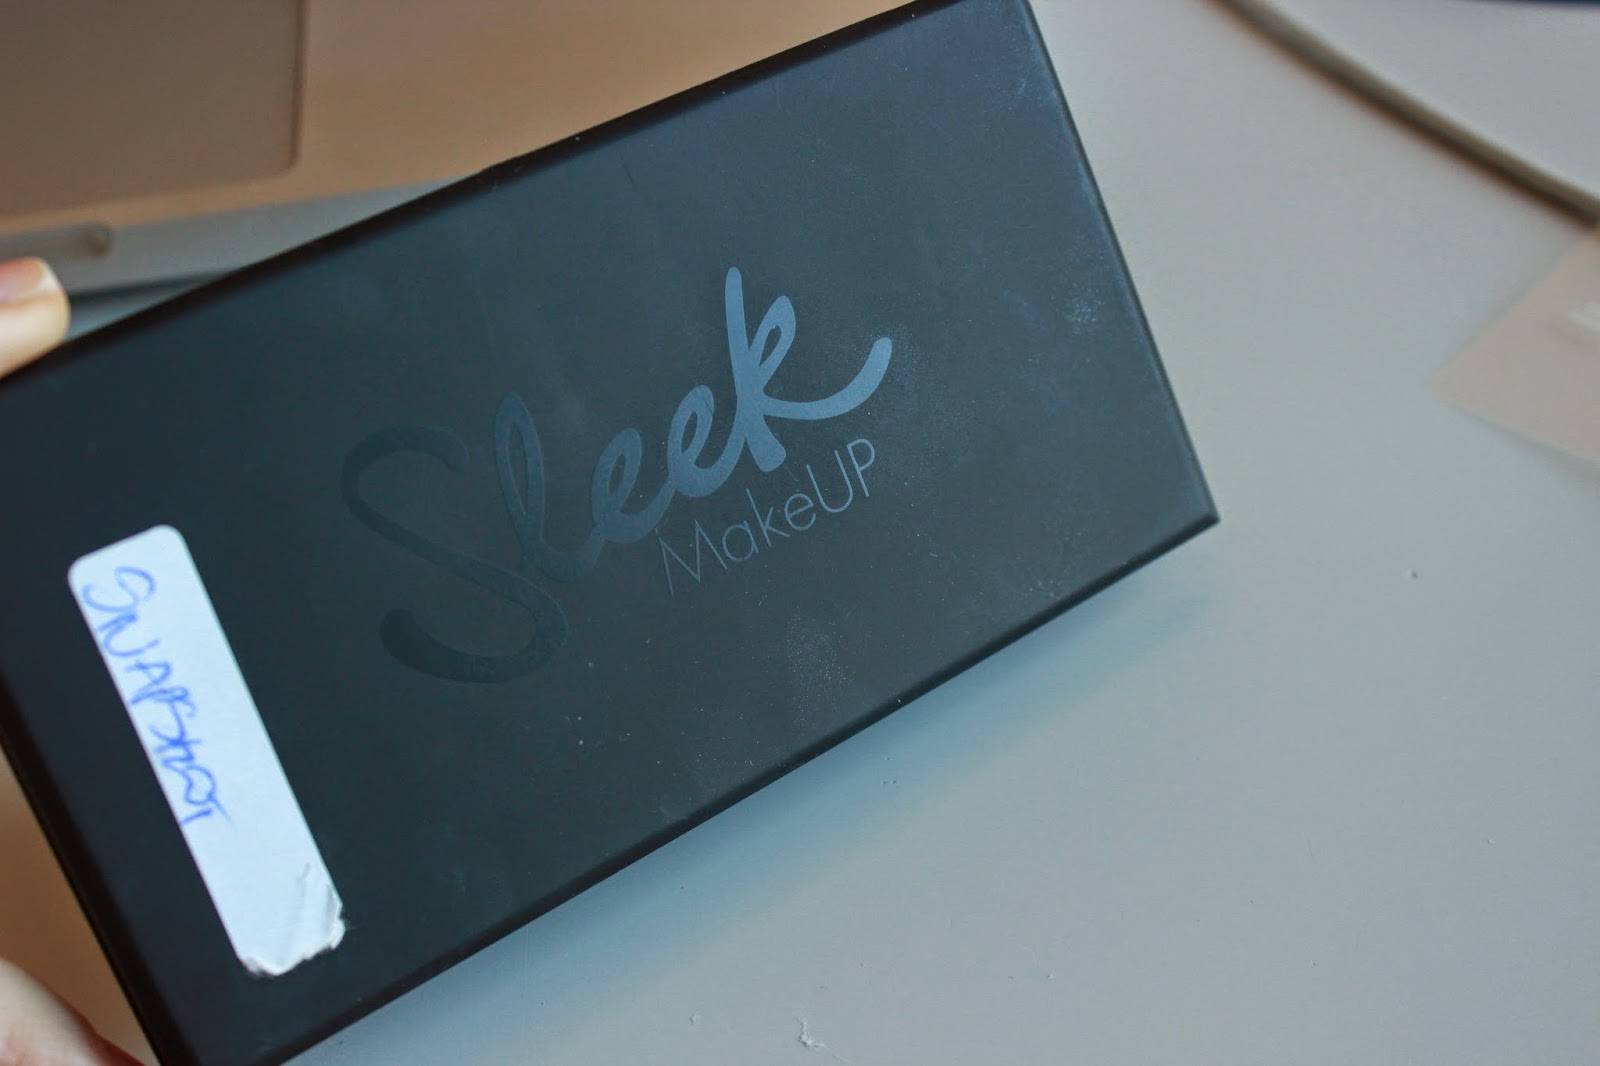
Sleek i-Divine Palette in Snapshots as a gift for an order I did on a french website. It was a good surprise, specially because I didn't know the brand yet. I was eager to discover their eyeshadows but kind of daunt by the bright neon colors. Yet, recently I grew tired of my usual plum-pinky makeup and decided to give it a try.

So here's the palette:
I really like the packaging, it's elegant and sober, very classy. (Don't mind the sticker, as I said, it was a gift so I don't have the original case). The palette comes with a double end felt-tip applicator that I almost immediately threw away as I cannot stand those things when it comes to makeup application... The mirror is big and really useful even it I prefer to have a bigger one that I can place on a table. The transaprent sheet with the printed name of the sahdes is useful even if I would have preferred them to be inked on the box itself.


Now about the shades: they're great, there are two matte nude shades (Sand Walker and Washed Ashore), those two are perfect as a base. I really love the color of Washed Ashore. I'm not a fan of the matte turquoise (Summer Breeze) but it's just my personnal taste and I'm sure I'll find a way to use it ;) the two others matte shades are Purple Haze and Magenta Madness, which are just perfect and bright. All those matte have a good pigmentation, I know Sand Walker doesn't look as pigmented as I pretent it to be but I swear it is!


For the shimmery shades we have a very useful highlighter, Martini that I just love. Kiwi Flower is a bright light green tricky to apply because it's hard to have a good intensity of the color. Green Iguana, somewhere between ocean blue and emerald green is beautiful  and goes smoothly but, as for Kiwi Flower, it needs several layers to have a good intensity. Humming Bird, the capri blue shade is just amazing and have a much better pigmentation. As for Purple Haze it is really light and, again needs several layers. The two warm shimmery shades are sooo beautiful. Sunset is a deep plum-burgundy red which is intense and goes smoothly. The last one, my favorite is Tequila Sunrise. The pigmentation is amazing and the color so powerful! So basically the matte are good but the shimmery lack some pigmentation and are tricky to apply if you don't have the proper brush.


Now here's my first look using this palette:


I choses not to use the warmer shades because I really wanted to do a look with greens. I contrasted it with a purple lower lashline.

How to
1. Use Sand Walker all over the lid with an E40
2. Take a smaller fluffy brush with Washed Ashore and dust it on the inner corner. As the look is pretty cool, this will warm it up and wake the whole look.
3. Put Green Iguana on the outter corner and work it into the crease with an E44. I had to use this brush because my usual E35 wasn't dense enough to apply the shade with the proper intensity.
4. Take an E57 to place Kiwi Flower on the inner lid and blend the two shades together. Smooth the edges with the E40 to avoid any harsh lines.
5. With the same E55 and dab some Humming Bird on the ball of your eyes, this will give an extra pop to the look.
6. You can stop here for a light, soft look or, like I did, add some MUG Envy (E45) in the outter V to bring more definition to the eye. Then blend it well with an E37.
7. With an E15 place Purple Haze on your lower lash line keeping it on the outter part of the eye and smooth it with an E20 and Lotus Flower. Bring the color to your inner tear duct and then take a soft domed brush (MUG here) to blend it well.
8. I chosed to apply a very thin line of gel liner using an E10 because I felt that the two areas needed to be separated in some kind but feel free to skip this step!
9. Apply Martini on your inner tear duct and the center of your brow bone to highlight. Add mascara and you're done!

With this look I would chose warmer shades for blush and lipstick such as corals but avoid golden pinks. I also chosed not to use bronzer to keep the attention on the colors on the eyes!

Have fun with your makeup and don't fear to play with colors!

<3<3
Maylee

Monday, May 19, 2014

Bright Purple

Hello Starshines!
Today I felt very purple and threw some of my favorite MAC eyeshadows to create this look. It is simple and effective and I chosed to make it smooth but you can add more drama and intensity if you want to wear it for a night out!


How to:
1. Place MUG Crème Brulee all over the lid with a Sigma E40
2. Take an E55 and MAC Satelitte Dream and pack it on the first 3/4 of your inner lid leaving the very outter corner empty. Take care not to bring this color to high in the crease.
3. With an E25 place MAC Nocturnelle on the outter V working the color up in the crease but not too much.
4. Take an empty brush or the E40 with no additional product on it and blend the two purple into the Crème Brulee to prevent any harsh lines.
5. Take Sketch on the same E25 and dab it on the very outter corner before wiping it back and forth to fill the crease and the very outter V. You can grab your E40 to smooth the whole lid if you feel the need. Then take a bit more of Sketch and just dab it once or twice on the outter V to add more definition.
6. Put some eyeliner (you can skip this step if you prefer but I personnaly love the intensity of a liner)
7. Take Sketch on an E15 and blend it with Satellite Dream on an E20. Then take the same E20 and add a slight touch of Nocturnelle on the center of the lower lashline.
8. You can use some khol or gel liner to line the outter lashline and put some mascara.
9. To highlight the very inner corner and the brow bone, chose a silver or white color because the yellow will be too much. (MUG Bling for exemple would fit pretty well ;)

For the lips I chosed a very nude frosted pinky lipstick with silver reflections.